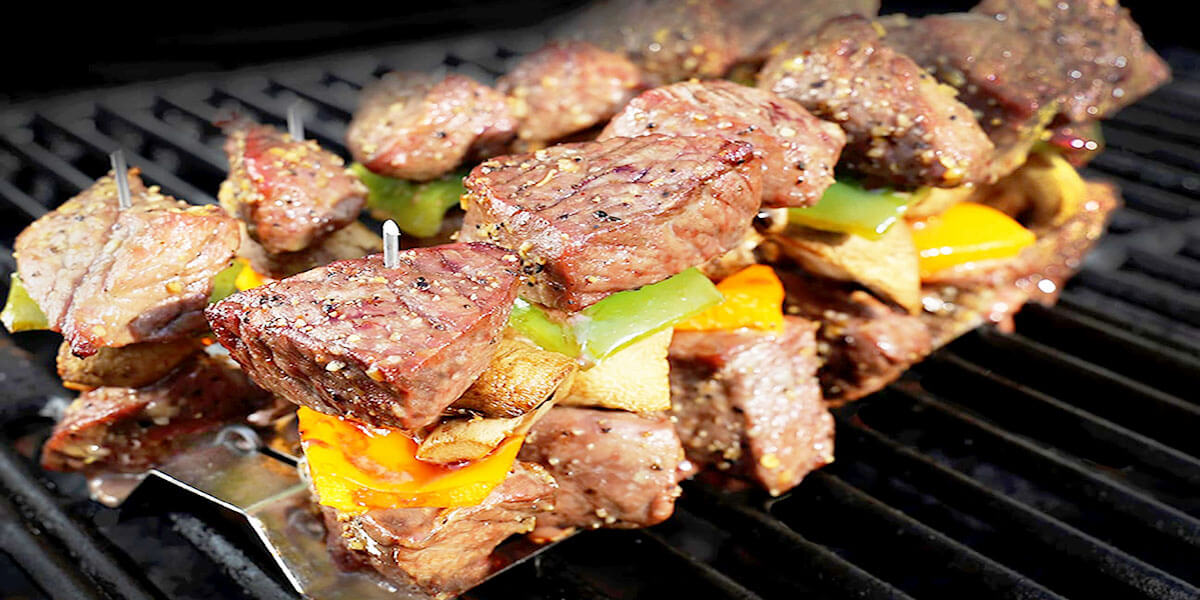
We all do love grilling, but how to grill in oven?
This is a question that can often be heard considering that when rainy and winter days come, the weather outside is not very suitable for this activity that we all love so much. When you learn how to correctly use your oven to prepare a grill, you will be able to enjoy your favorite dishes throughout the year.
To make your favorite dishes as tasty as possible and the preparation process easier, we recommend Ninja Foodi pressure cookers.

Table of Contents
Method Of Broiling
Broiling is a great method if you want to get grill-like results in your kitchen with the help of an oven. Broiling is fast and easy just as grilling. What does it take to broil the grill?

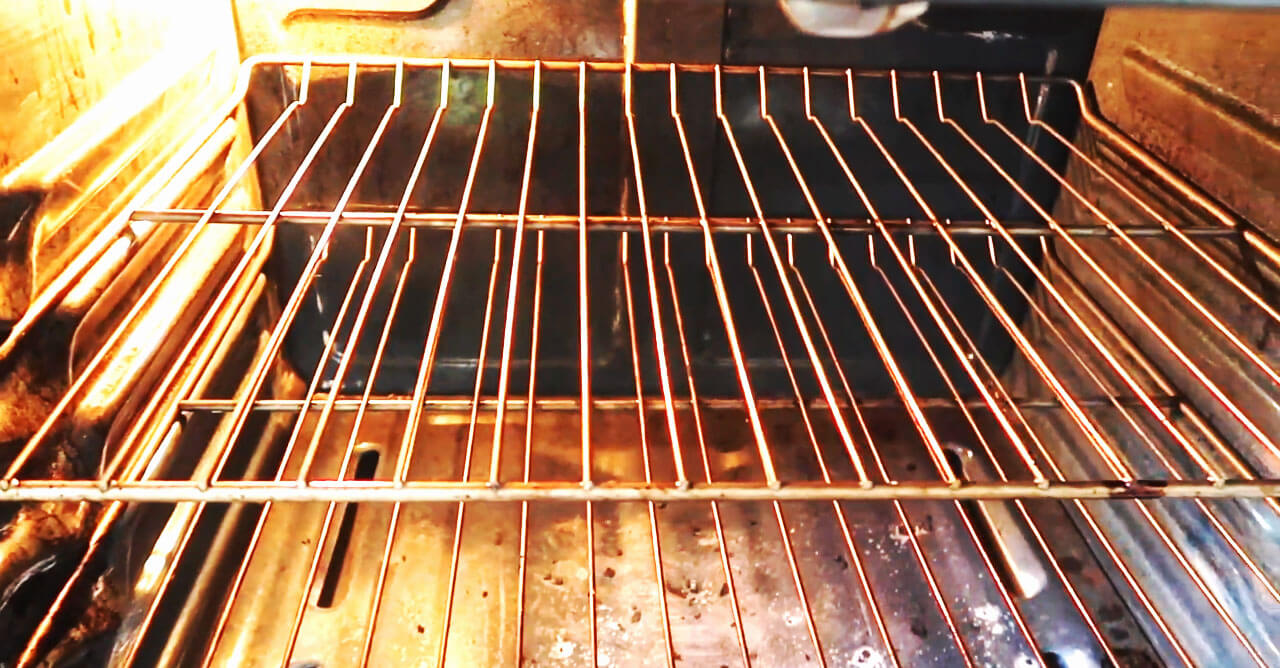
Step One: Choosing The Correct Rack Position
The secret for a good grilling is all about balancing act. If you place food too close to direct exposure to a flame, it can burn or get brown even before your meat is cooked through.
So, check how many racks does your oven have. It is usually between four to seven positions. Experts for preparing the grill in the oven advise that the distance from the top should be somewhere between 10 and 20 cm.
Step Two: It is All About The Right Temperature
Before preheating your oven, make sure your broiler pan is inside it. It is important to know that different sorts of meat should be cooked at different temperatures. Thicker food like meat is generally prepared at higher temperatures, so you are going to use low broil to achieve greater exposure to heat.
Step Three: Once The Broiling Pan is Preheated With The Help of Oven Mitts Remove it
Carefully pull it out and place it on your stove. Put your food inside, which you previously prepared, and bring it back.
Pro tip: if you leave the door of your oven slightly opened, the hot air can circulate all the time, making your dish much tastier and softer.
Step Four: Use Oven Convection
A fan that’s located at the back of your oven is a great thing in achieving the even circulation of hot air. In case you have a convection-broil setting, then you are in luck. This will help make your food crispy, perfectly baked, and bronzed evenly – just like it would be from a barbecue.
Step Five: From Time To Time Check Your Meat
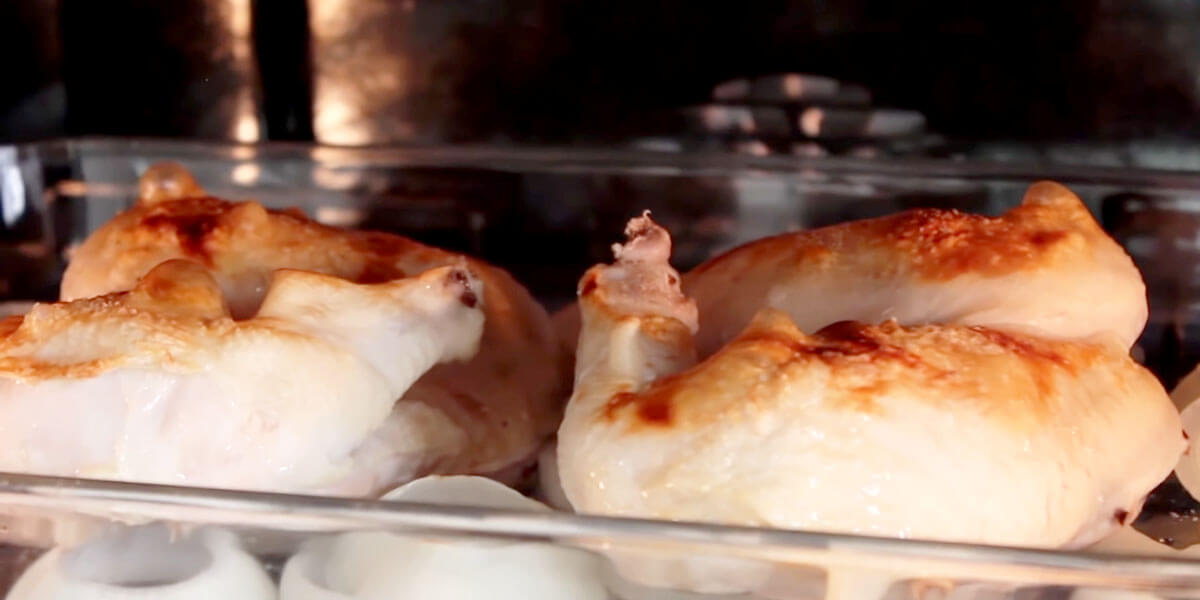
You don’t want to make a catastrophic mistake – do not forget your meat in the oven, or bake just one side. After 4-5 minutes, the first mark signs start to appear all over your meat. It is the “warning” that the meat is ready for flipping.
Step Six: Do Not Start With Cutting Immediately After Removing Your Meal From The Oven
Never start with cutting right after removing your meal from the oven.
Let the meat chill for 5 or 10 minutes before you start cutting it. In this way, the meat retains its juices. Before this, be sure to turn off your oven.
How To Prepare Your Dish
Although the oven provides plenty of benefits, that is to say, it perfectly replaces the grill, it still has some small flaws. In order for the meat to get that magical “smoke taste”, which the grill gives us, we will have to dedicate time to preparing the meat with the help of smoke seasonings.
You have probably already know that cleaning your oven does not present a greater challenge than you had with your grill outside. However, you can always use natural cleaners for over with baking soda. Lemon and vinegar are equally powerful for oven cleaning as well as for a BBQ grill cleaning. By taking out the racks and cleaning them separately, you make your job way easier. It is really important to clean your oven after indoor grilling, just like you would clean the BBQ grill after using it. Take a few minutes and wipe the interior of your oven and get rid of all stains left after cooking. If you follow all the above steps carefully, you will get meat with the same taste, aroma, and softness as the one from the grill, all with the simple use of an oven.
Oven cleaning
The Takeaway
See Others Stories:
